AccessibilitySkip to main content

Embossing Stamps

Add a raised, tactile finish to invitations and stationery with embossing stamps. They're ink-free and come with a protective carrying bag.
Loading options

Give invitations and documents a premium feel with embossing stamps

  • 4.1" circular stamp size
  • Ink-free embossing
  • Works on 80–160 gsm paper
  • Dual die plate system
  • Ergonomic grip for handling
  • Protective carrying bag included

A premium impression every time

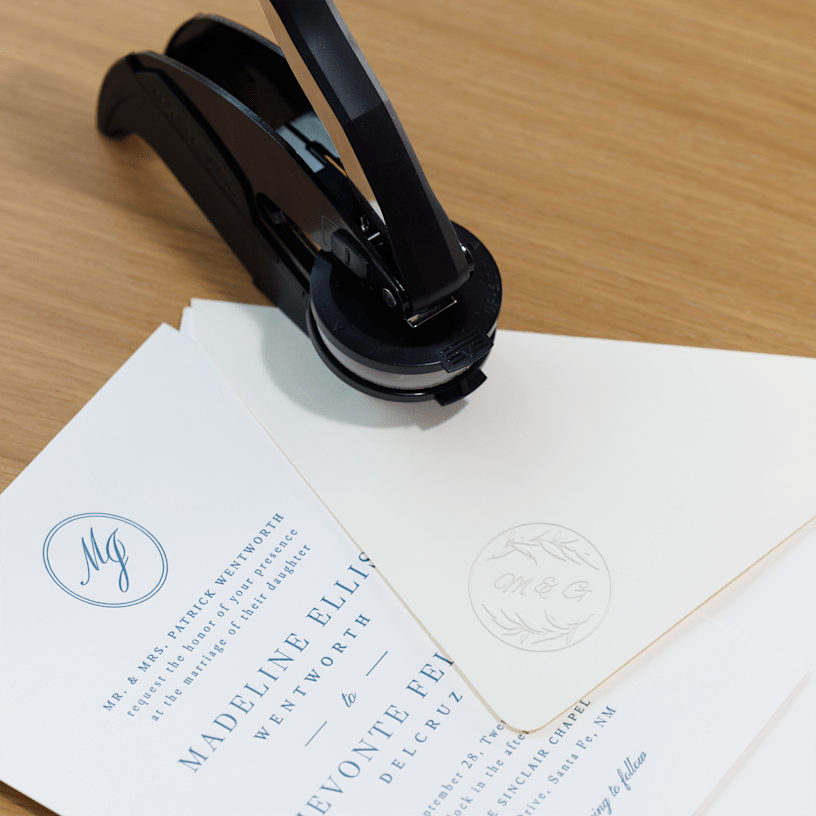
Whether you're preparing wedding invitations, thank-you notes or official business certificates, embossing stamps help your materials make an impression. The raised, tactile design leaves a lasting mark that flat printing simply can't match, telling recipients that real thought has gone into every detail.

Built for desk and on-the-go use

The circular 4.1" die creates crisp impressions on paper stocks between 80 and 160 gsm. The dual die plate system — one raised, one recessed — works together without any ink, keeping things clean and simple. An ergonomic grip makes it comfortable at your desk or on-site at events, and the included protective carrying bag means you can take it wherever you need it.

Designed and delivered with care

Customising your embossing stamp through Vistaprint is straightforward. Use a font of at least 9pt and keep text to 44 characters for the sharpest results. For porous papers like cotton, the raised impression stands out especially well. Once your design is ready, you can count on reliable delivery so your stamps arrive when you need them.
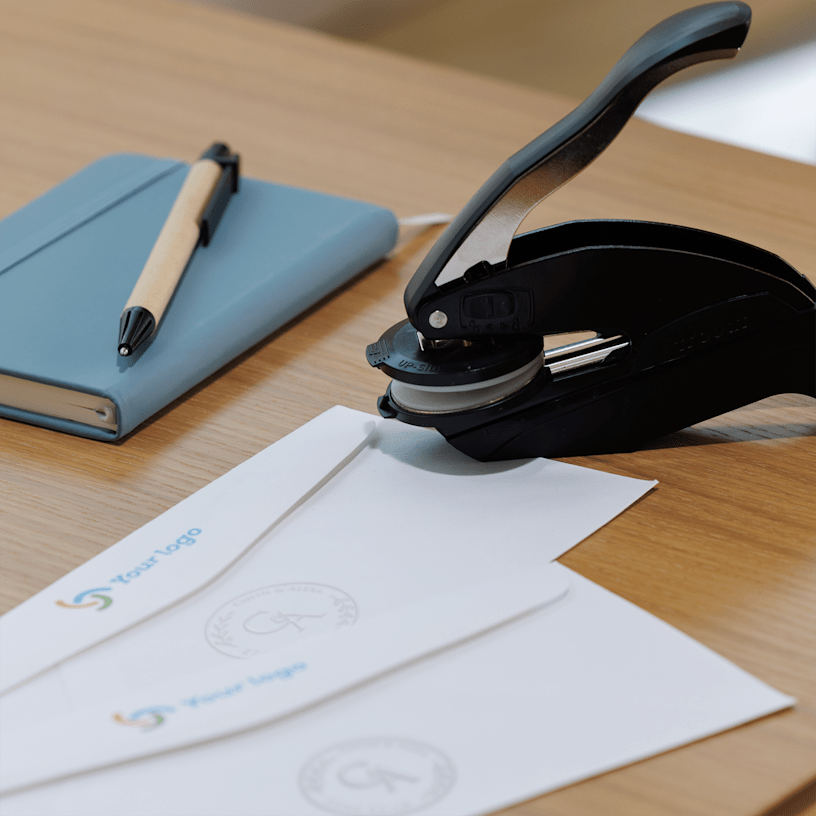
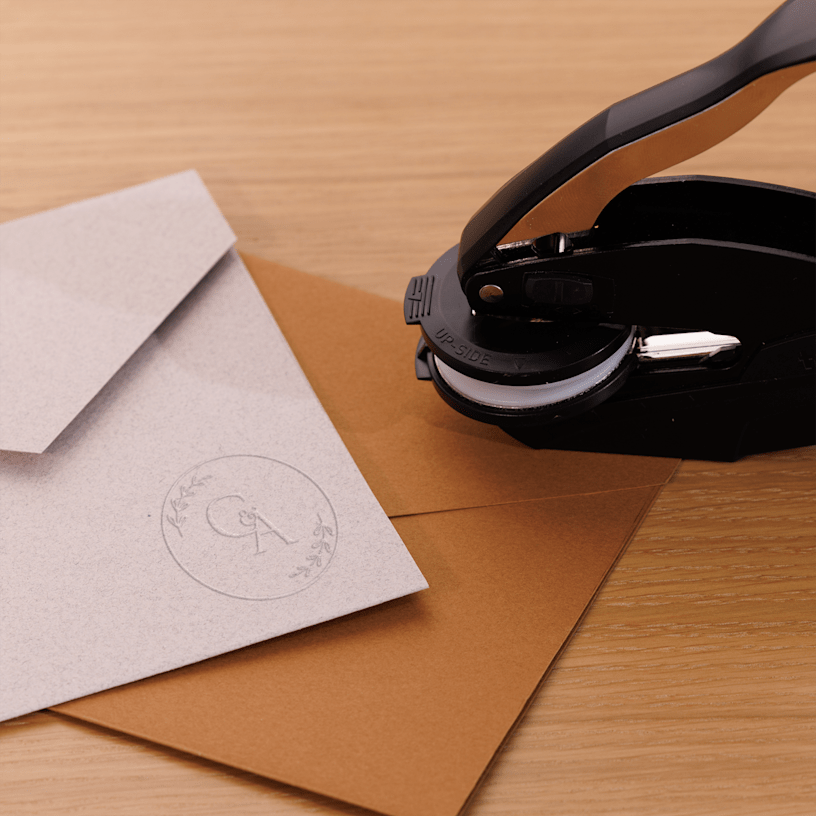
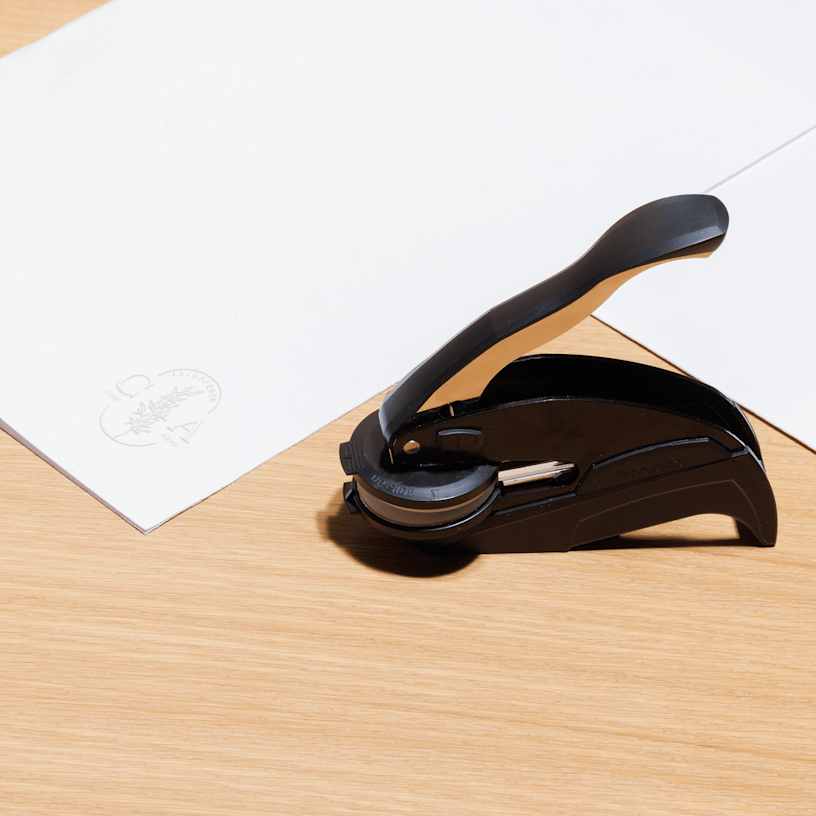
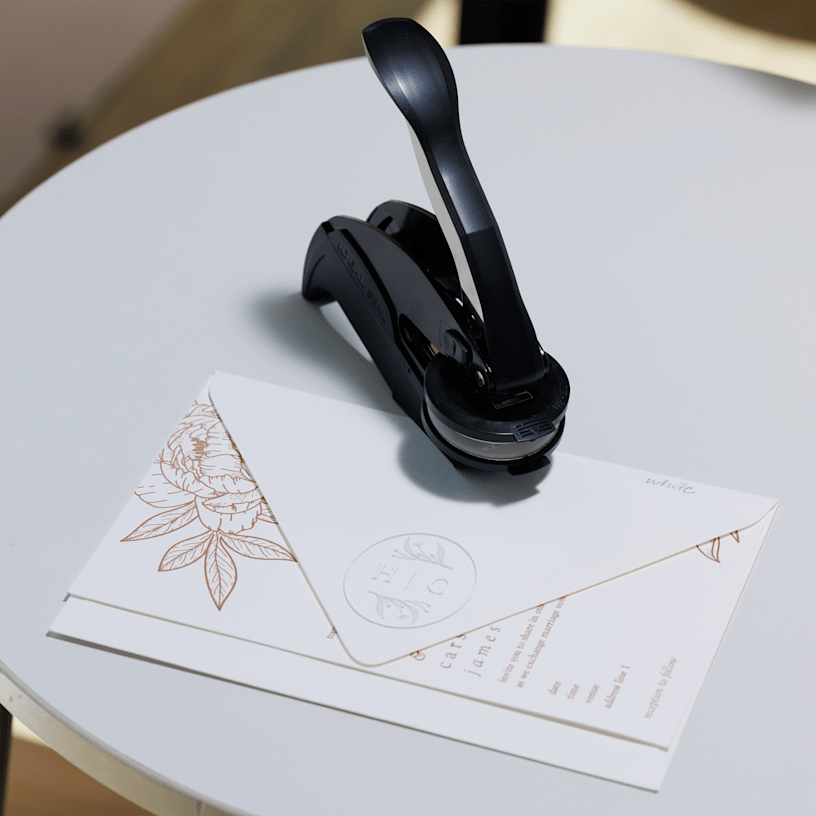
An embossing stamp placed next to coloured envelopes and stationery with matching raised designs.

Reviews

(3 reviews)
Filter By
stars
(67%)
stars
(0%)
stars
(0%)
stars
(33%)
star
(0%)

Reviewed by 3 customers

Very good product
17 Jun 2026 | William H. |
Verified Buyer
Does the job! Very good customer service.

Embossing tool
18 Nov 2025 | Angela B. |
Verified Buyer
The embossing tool I bought is not very good. The embossment is really faint. Can barely make out the name and no chance of reading the email address!! Maybe I’m missing something? Is the tool ready for use or do I have to remove something or ????
Response from Vistaprint Customer Care Team:
We are very sorry that your embossing stamp didn’t print your logo as expected and understand how frustrating this must be. We have reported the issue to our quality team to ensure it’s thoroughly investigated. To make things right, we have arranged a free replacement order. You’ll shortly receive an email with the order details, and another once your new stamp has been shipped. We hope the replacement meets your expectations, and we’re always here if you need any further assistance.

perfect
22 Oct 2025 | michelle k. |
Verified Buyer
Works great and looks lovely, exactly what we were looking for.

Displaying Reviews 1-3

Work with a designer

Let us design it for you

No more guesswork. We take care of the entire design process, from brainstorming ideas to delivering the files to your account.

Design services banner image
Frequently asked questions

An embossing stamp is a small tool that lets you press a raised design or seal into paper. People often use them to add a special touch to invitations, letters or books. They’re also used in business settings to make documents official or to mark certificates.

Our embossing stamps use custom-made die plates, which consist of one raised plate and one recessed plate. When you press them together with paper in between, you create a crisp, raised impression — no ink is needed. This is an easy way to add texture and style to your projects. Please note that the plates are designed for perfect alignment, so you don’t need to apply a strong grip.

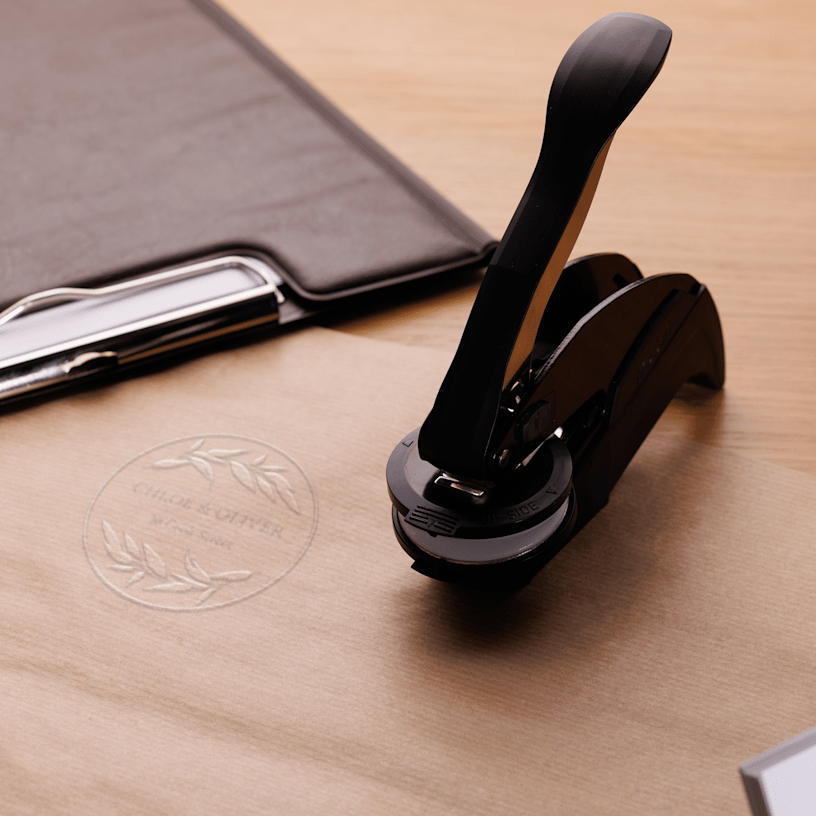
Embossing gives you a raised design by pressing the paper, while stamping usually uses ink to leave a flat image. Embossing adds a tactile, premium feel and works best on porous paper, like cotton, where the raised impression stands out most.

Here’s a quick guide to get you started:

First-time set-up

  1. Unpack: Remove the seal from its box or protective bag.

  2. Unlock: Slide the locking mechanism on the seal body to the unlocked position.

  3. Insert the die plates:

    • Lift the handle and remove the die holder from the rear of the seal.
    • With the raised side facing up, squeeze and insert it until it clicks into place.

Proper storage

  1. Remove the die plates: Squeeze the holder, lift the handle, and slide it out.
  2. Secure: Place the die holder in the rear, aligning it with the handle’s contour.
  3. Lock & Protect: Slide the mechanism to lock and store in the included bag/box.

Pro Tip: Always store your seal locked to keep the die aligned for crisp impressions.